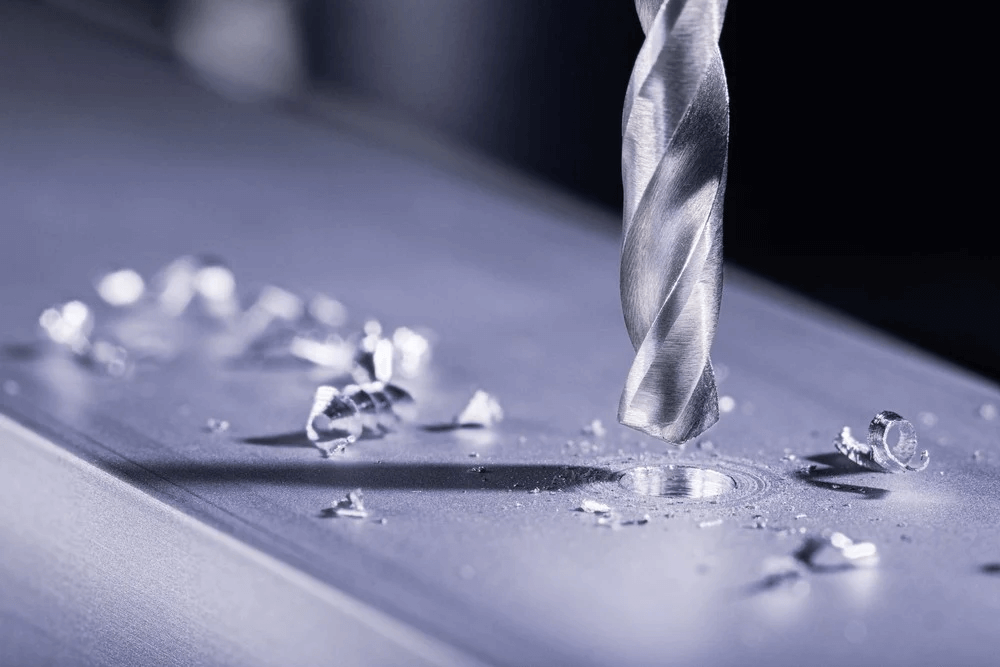
Precision and efficiency are the base of any successful project. When your drill bit loses its edge, not only does it make drilling harder, but it also risks damaging your materials, tools, and even the drill itself. That’s why mastering drill bit sharpening is essential for both DIYers and professionals. In this post, I’ll walk you through everything you need to know about keeping your bits sharp,how to save time, save money keep bit work well and extend the life of your tools. Let’s dive into the essentials of sharpening and make sure your drill bits stay as sharp as your skills.
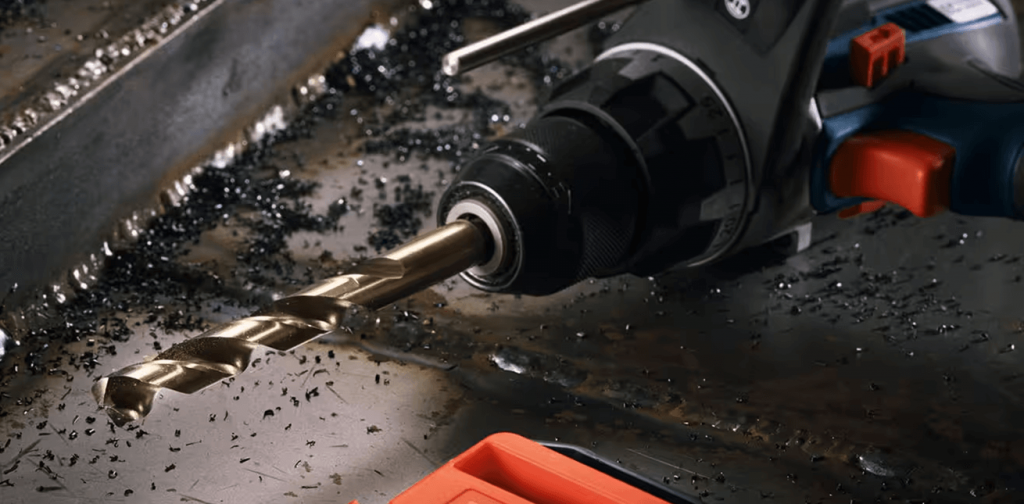
How to Tell If Your Drill Bits Are Dull: Key Signs to Watch For
Recognizing when your drill bits are dull is key to maintaining accuracy, speed, and safety on any job. Here’s what to look for:
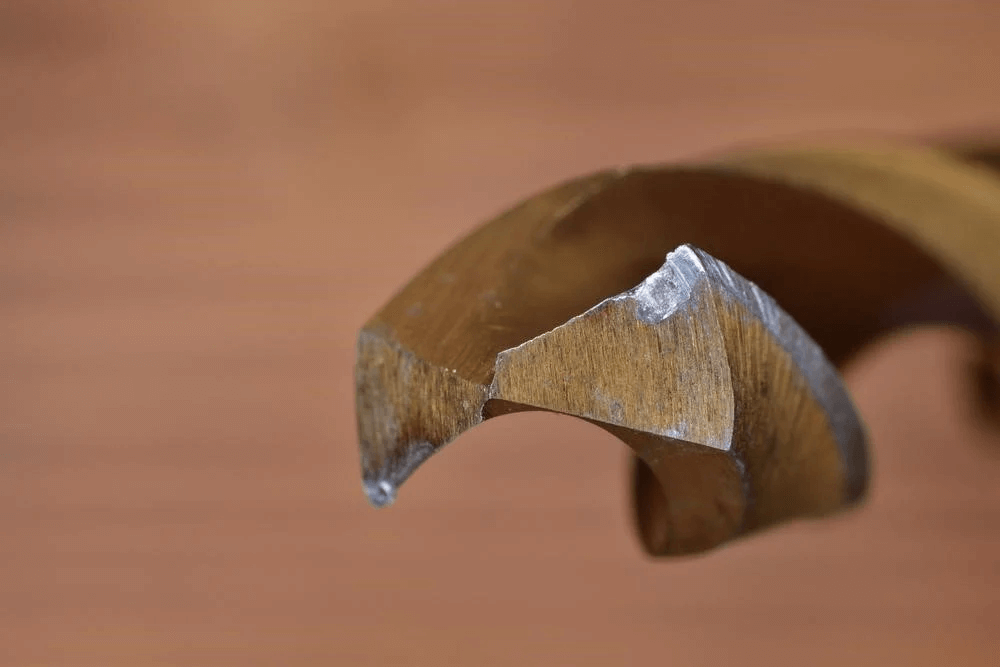
- Slow Drilling Progress and Poor Hole Quality: If your bit is struggling to penetrate or leaving rough, uneven holes, it’s time for a sharpening.
- Excessive Heat and Smoke: High friction from a dull bit generates heat and even smoke—signs that you’re wearing out the bit and possibly harming your material.
- Visible Wear on the Bit Tip: Check for visible wear or dullness; a sharp bit will have crisp, clear edges.
- Increased Pressure Required to Drill: If you’re pushing harder than usual, it’s likely because your bit is losing its edge.
Using a dull drill bit can damage your project, strain your drill, and even risk injury. If you notice these signs, it’s time to sharpening of drill bits!
How to sharpen a drill bit?
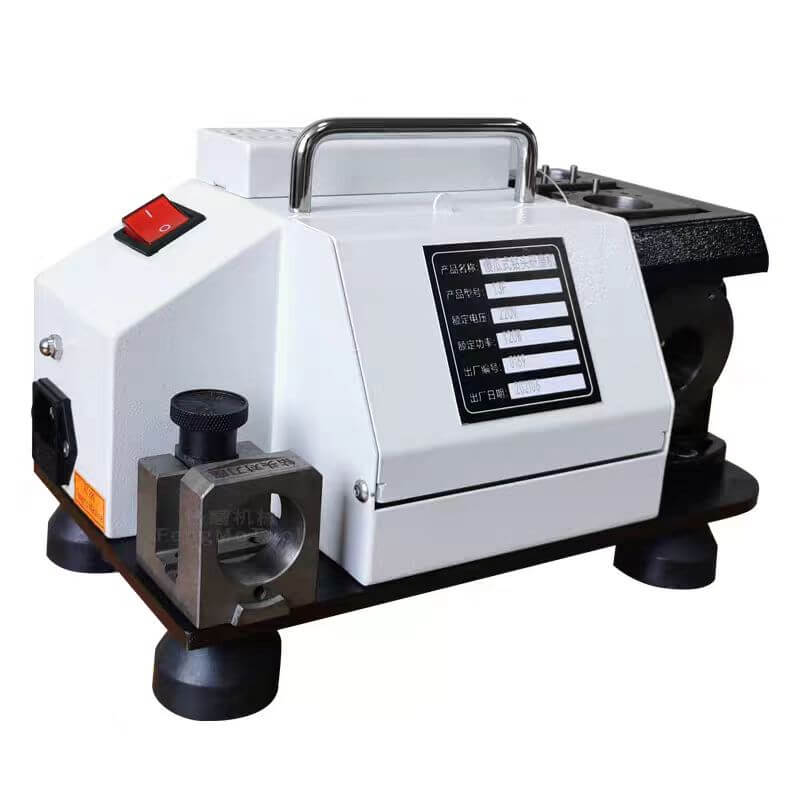
Using a tool grinder makes drill bit sharpening straightforward and precise. Here recommence DekinTool’s drill bits sharpeners. Grinding is accurate and rapid, easy operation user friendly.
Drill bit grinding Step-by-Step Guide:
- Choose the Right Grinding Wheel: Use a CBN wheel for high-speed steel (HSS) bits and an SDC diamond wheel for carbide bits.
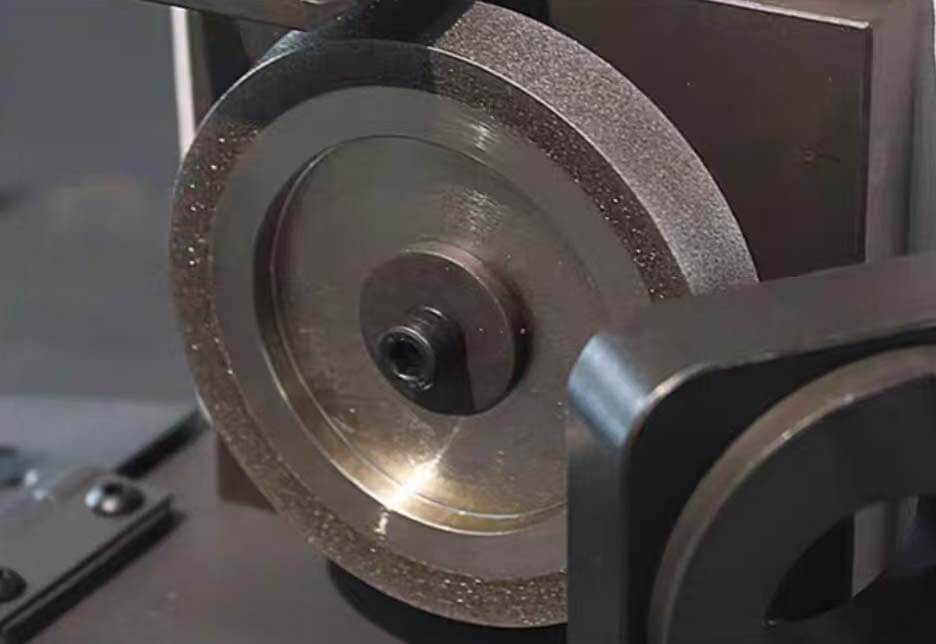
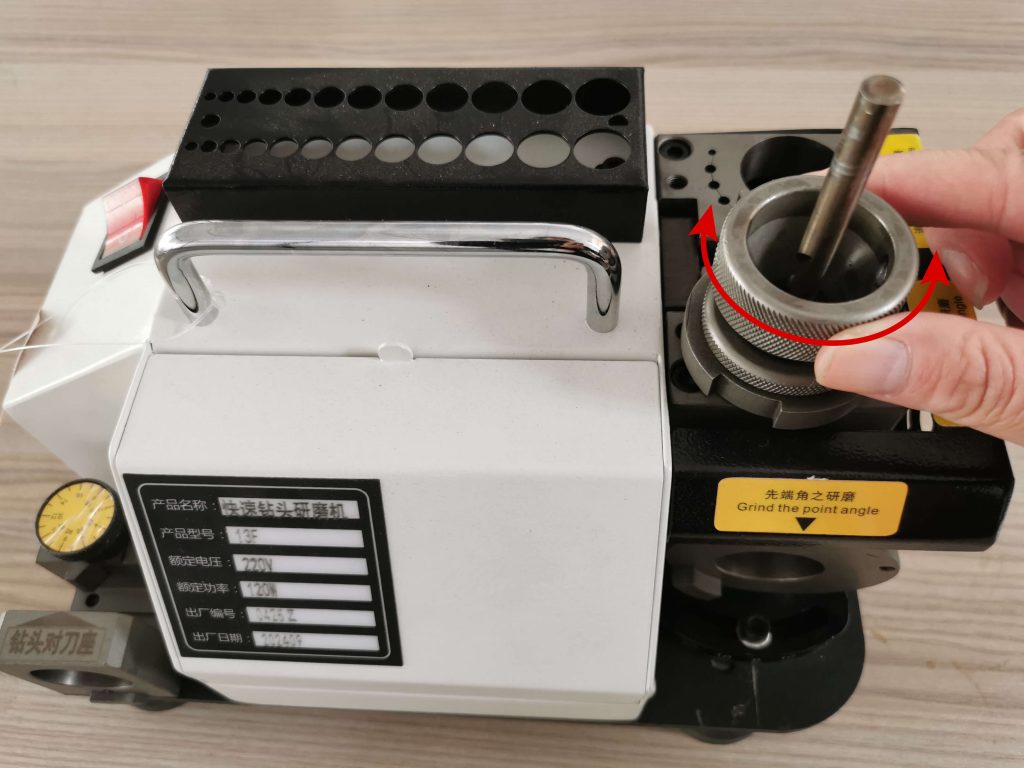
1.Set Up the Collet Chuck: Measure your drill bit diameter and select the appropriate collet. Insert it into the chuck at a 45° angle, insert the collect into the collect chuck and tighten the nut slightly.
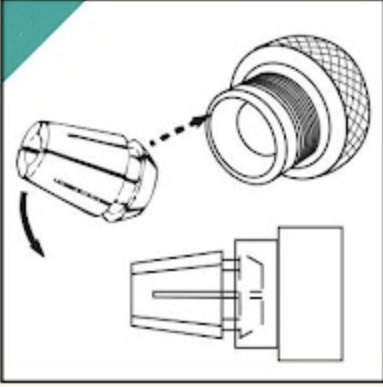
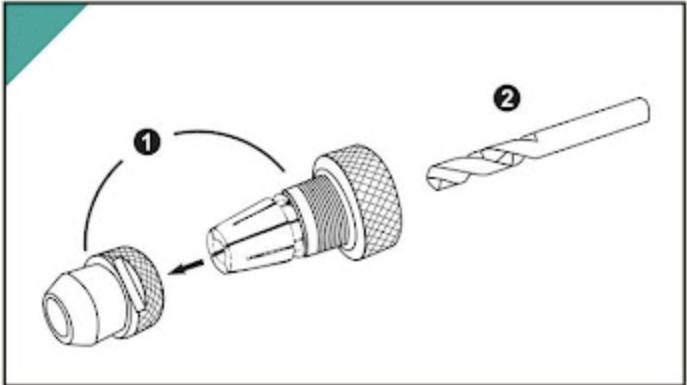
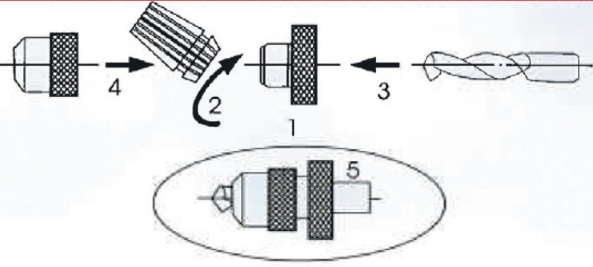
2.Adjust the Drill for Grinding: Adjust the dial to match the bit’s size, then insert the drill chuck into the holder bottom. Twist until it stops, then tighten.
3.Grind the Point Angle: Place the chuck in the sharpening fixture, rotate until grinding begins, then turn the chuck back and forth until the grinding stops. Repeat with a 180° rotation.
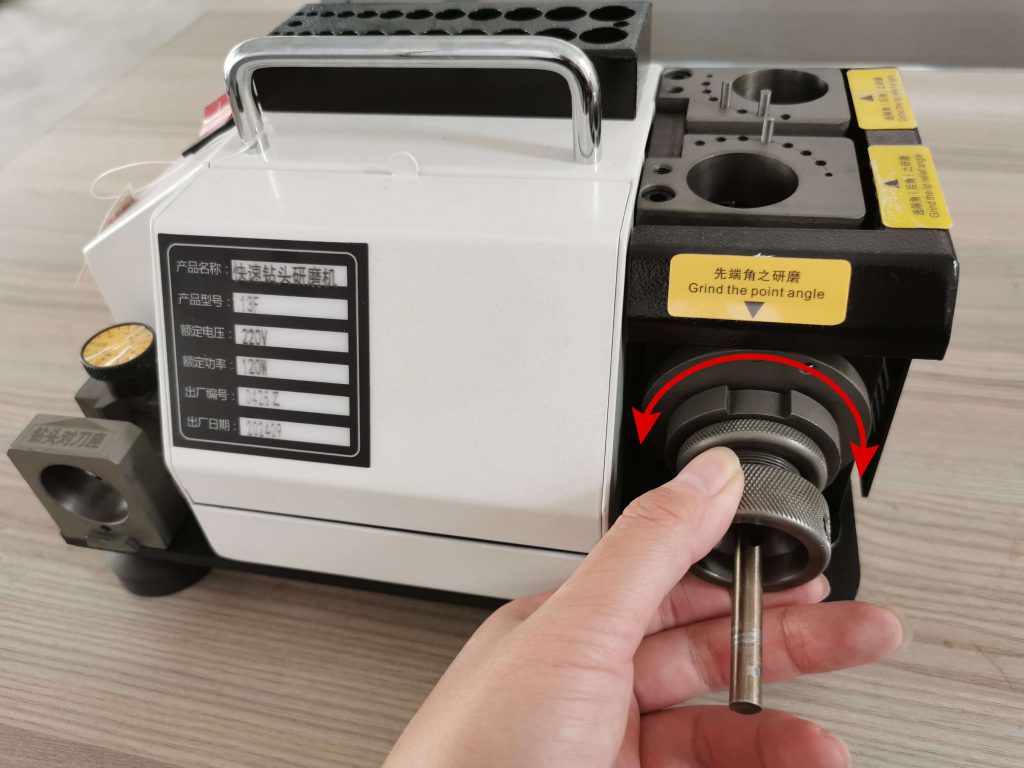
5.Grind the Lip Relief Angle: Move the chuck to the top fixture, rotating it back and forth until all grinding stops. Repeat after a 180° rotation, and remove the chuck periodically to inspect progress.
Tips for Long-Lasting Performance of Your Drill Bit Sharpener
To keep your drill bits sharpener in top shape, clean it after each use, removing dust and metal shavings. Lubricate moving parts regularly with light oil, and inspect the grinding wheel for wear. Calibration is key; frequently check the angle settings to prevent uneven sharpening. When not in use, store the sharpener in a dry, dust-free environment to prevent rust. Following these maintenance tips will keep your sharpener performing smoothly and extend the lifespan of your drill bits.
Ready to Sharpen Your Drill Bits? Explore the best drill bit sharpener for Razor-Sharp Performance!

